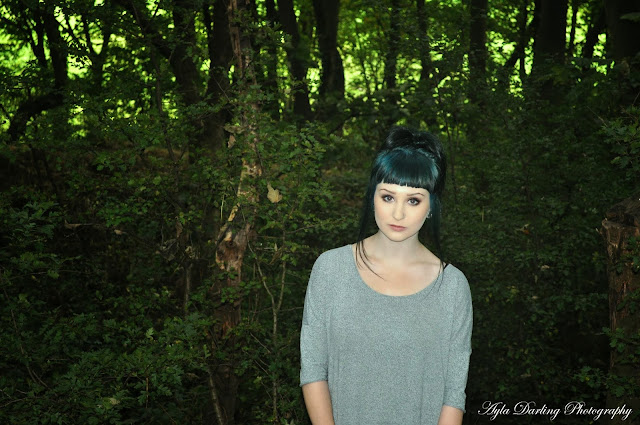
I've been captivated by Loretta Lux's work and decided to try it out for myself using photoshop.
My first step was to choose an image that contained most of the upper body of my model.
This is the image I chose.

My second step was to use the Quick mask tool to select the subjects head.
Once i had done this is clicked on the Quick mask tool again. Marching ants will appear around the edge of the image and the place you selected. Then i clicked onto select at the top and pressed inverse. Now just her head is selected. Press CMD+J to create a new layer of the selection.
I then used Edit > Transform > Scale to edit the size of my subjects head.
To Place the head layer correctly I turned down the opacity of the top layer and matched it with the layer underneath. Then I chose the eraser tool and the white colour and blended and overlapping matter.
When you are happy with your work merge your image down.
Loretta Lux's subjects have a cooler desaturated feel to their skin tones. For the next step I used the adjustment panel, not using Image > Adjustments > Hue/Saturation to decrease the saturation of my image. Because i only wanted her hair, face and arms desaturated i added a layer mask and used CMD+I. This colours the mask black which i then used a white brush tool to erase the black from the areas i wanted desaturated. This allows you to desaturate the areas you want.
When you are happy merge your image down again.
The large doll like eyes in Loretta's work help to add to the feeling of uncanny. This is achieved using the warp tool. To do this use the Lasso tool to select the area around the subjects eyes. Use CMD+J to add this as a new layer.
Then I used Edit > Transform > Warp and a grid came up around the area I had selected. The handles and lines can be moved around to adjust the size and shape of the eyes.
Then you flatten your image.
Make a copy of the flattened layer. Then choose Filter > Other > High pass. Set the radius so that the lines are just showing through the grey.
from this step you invert the sharpen to a soften by using CMD+I. Then add a layer mask and invert it black by again using CMD+I. But because i only wanted to use this soften effect on the skin, i used the white brush tool so it was only applied there.
Then I used the dodge and burn tool on the eyes. I used the burn tool on the pupils and the lines around the iris and i used the dodge tool on the iris itself.
This was my end result, my Loretta Lux style portrait.
I was very happy with it.


No comments:
Post a Comment